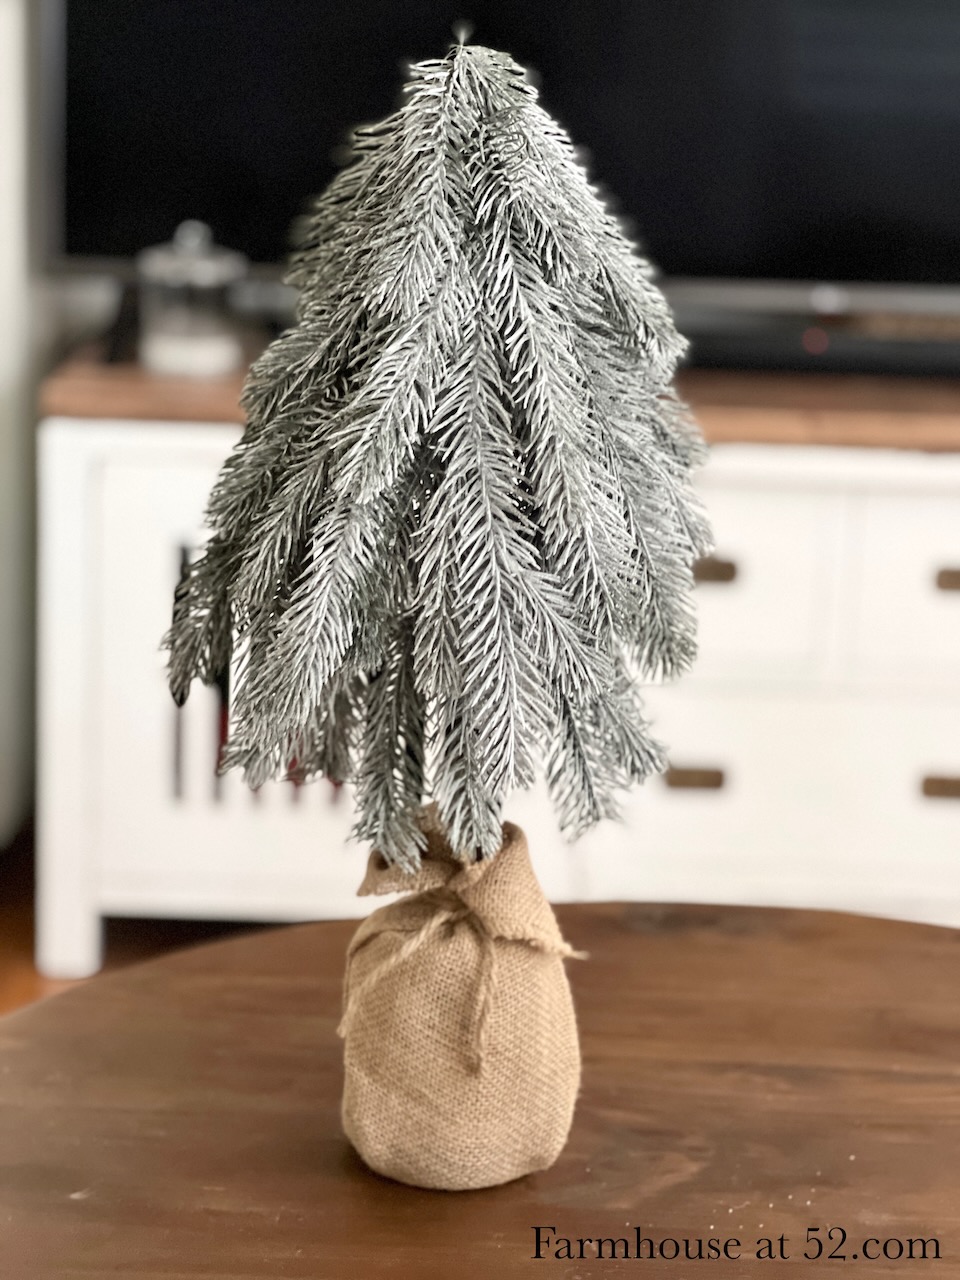
DIY Droop Pine Christmas Tree
Hi Friends and happy weekend!
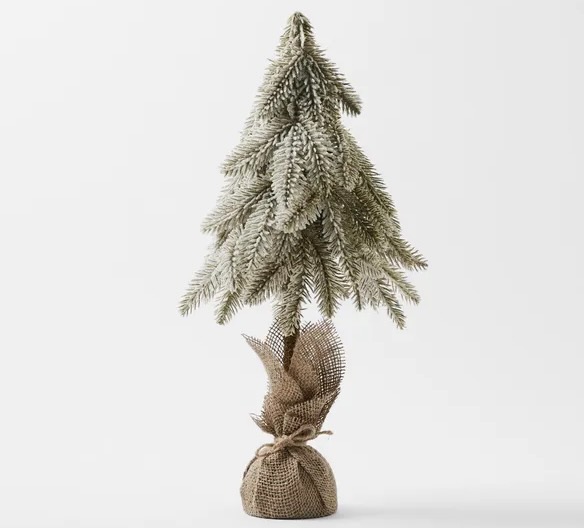
I was out shopping with my daughter yesterday and saw these cute Droop Pine Christmas trees at Bed Bath n Table.
And although they were marked down to $35, I had a closer look at how they were put together and decided I could probably make my own for a lot cheaper.
So I gave it a go.
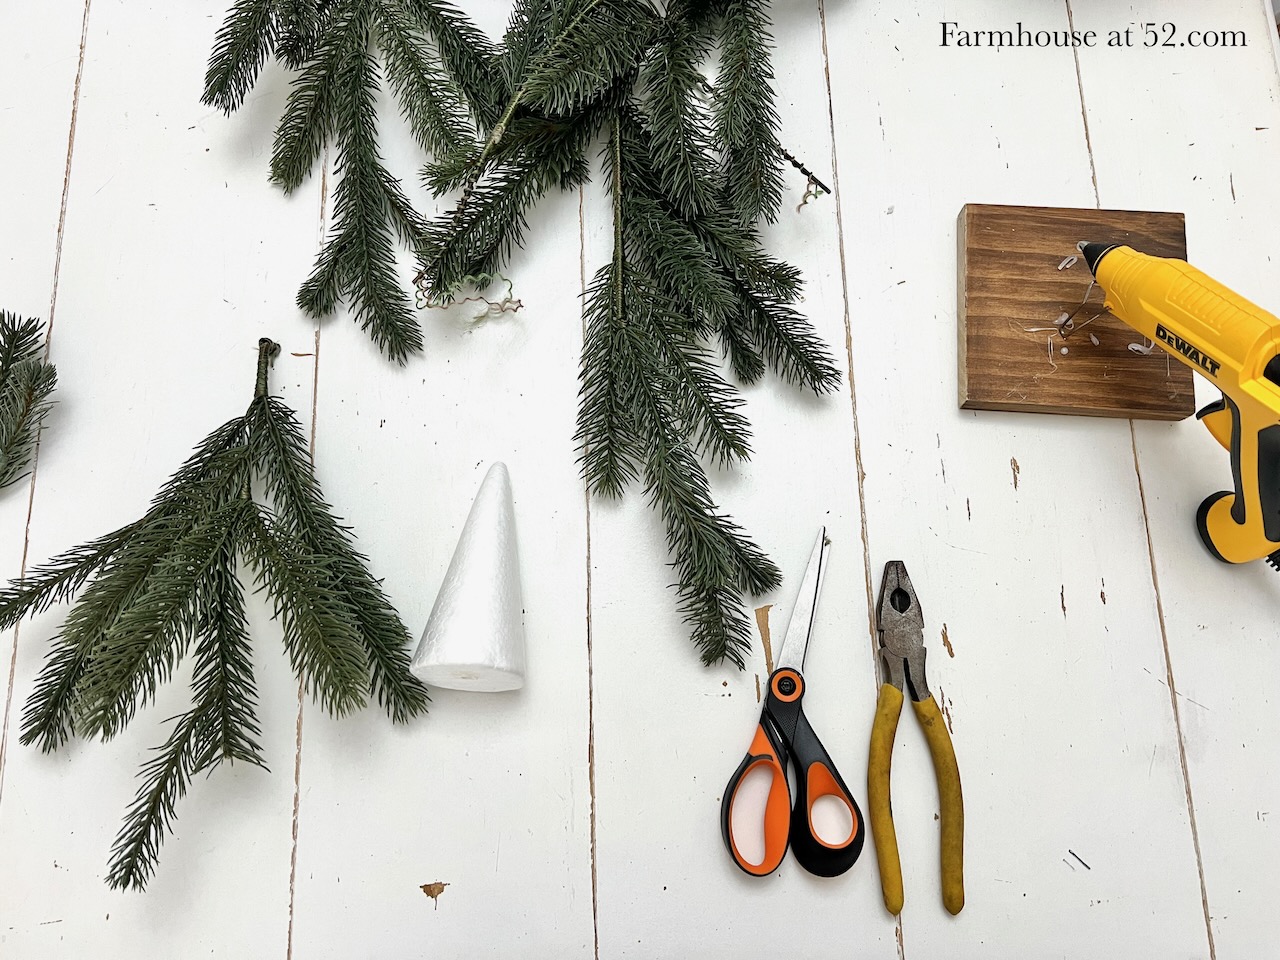
I started off with some pine branches that I had taken off another Christmas tree last year. I purchased the tree from Ikea for the sole purpose of taking off the branches and using them separately in my Christmas decor.
I also had some polystyrene cones I purchased last year for some wool trees I made.
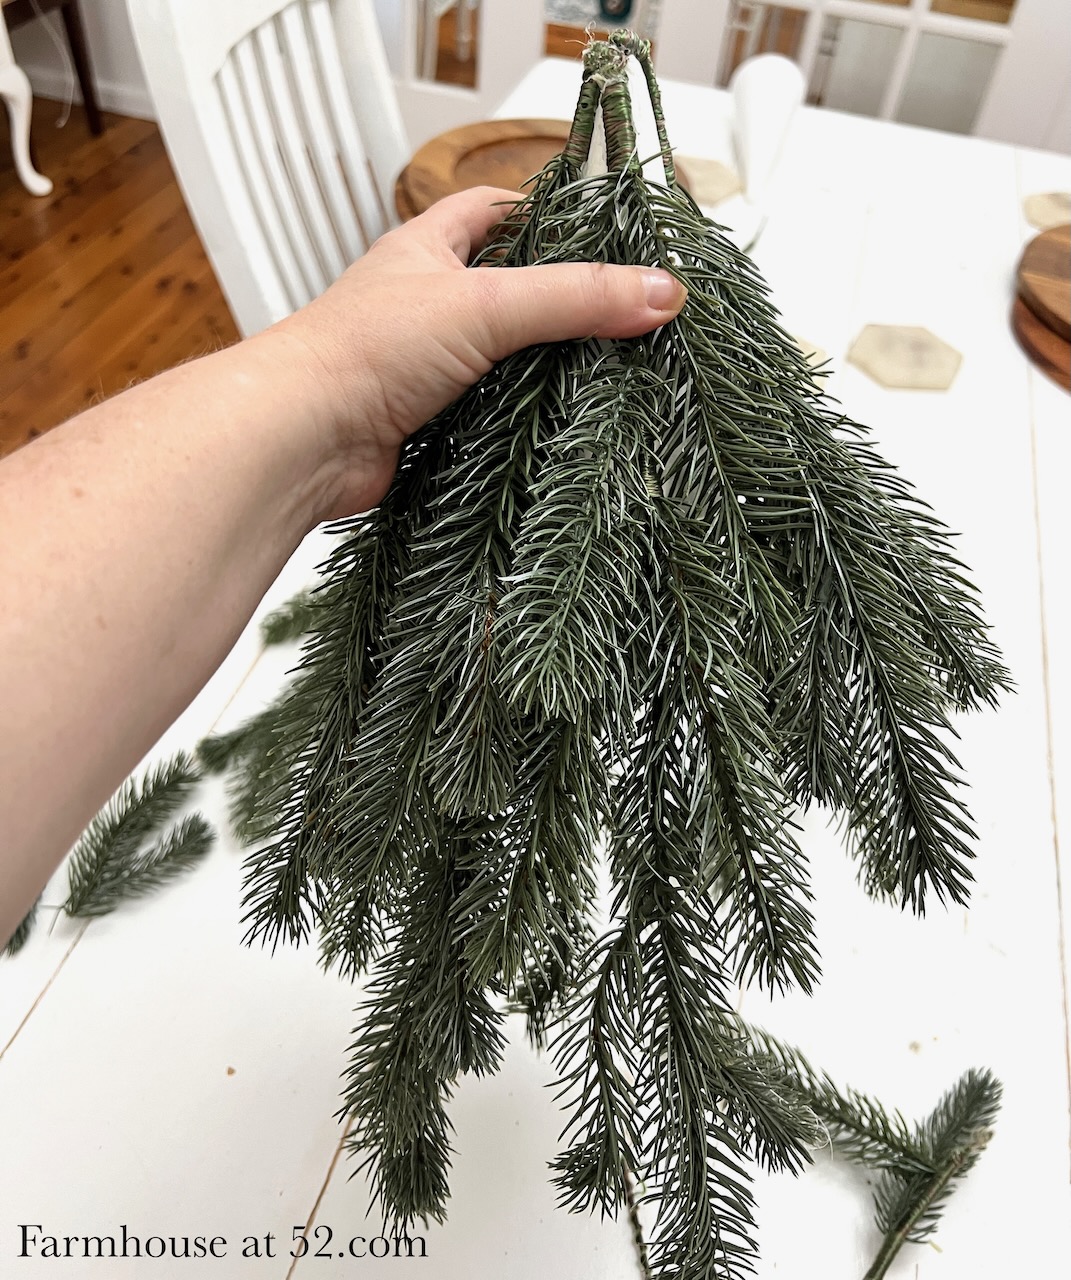
I gathered my branches and cone, and then layered my branches roughly in place to see how they would look.
Then I trimmed the tops of the branches and hot glued them to the cone.
Then I went around and filled in any blank spots with spare sprigs of pine.
Next I took my tree top outside.
I purchased a can of spray snow to flock my branches. I would have bought proper flocking if it was readily available in Australia. It was available for about $50 on Amazon with delivery just before Christmas. I didn't want to wait or pay that much. So I went with the spray snow.
I laid my tree top in a box and then sprayed a good dusting of snow onto my branches. You need to put something down cause this stuff goes everywhere.
Then left it to fully dry. The snow was flaking a lot so I did a bit of research and discovered a better way of applying the snow.
So I did a second layer of snow later, first applying a layer of spray adhesive. Then sprayed my snow again, allowed to dry, and to seal I sprayed a coating of hairspray.
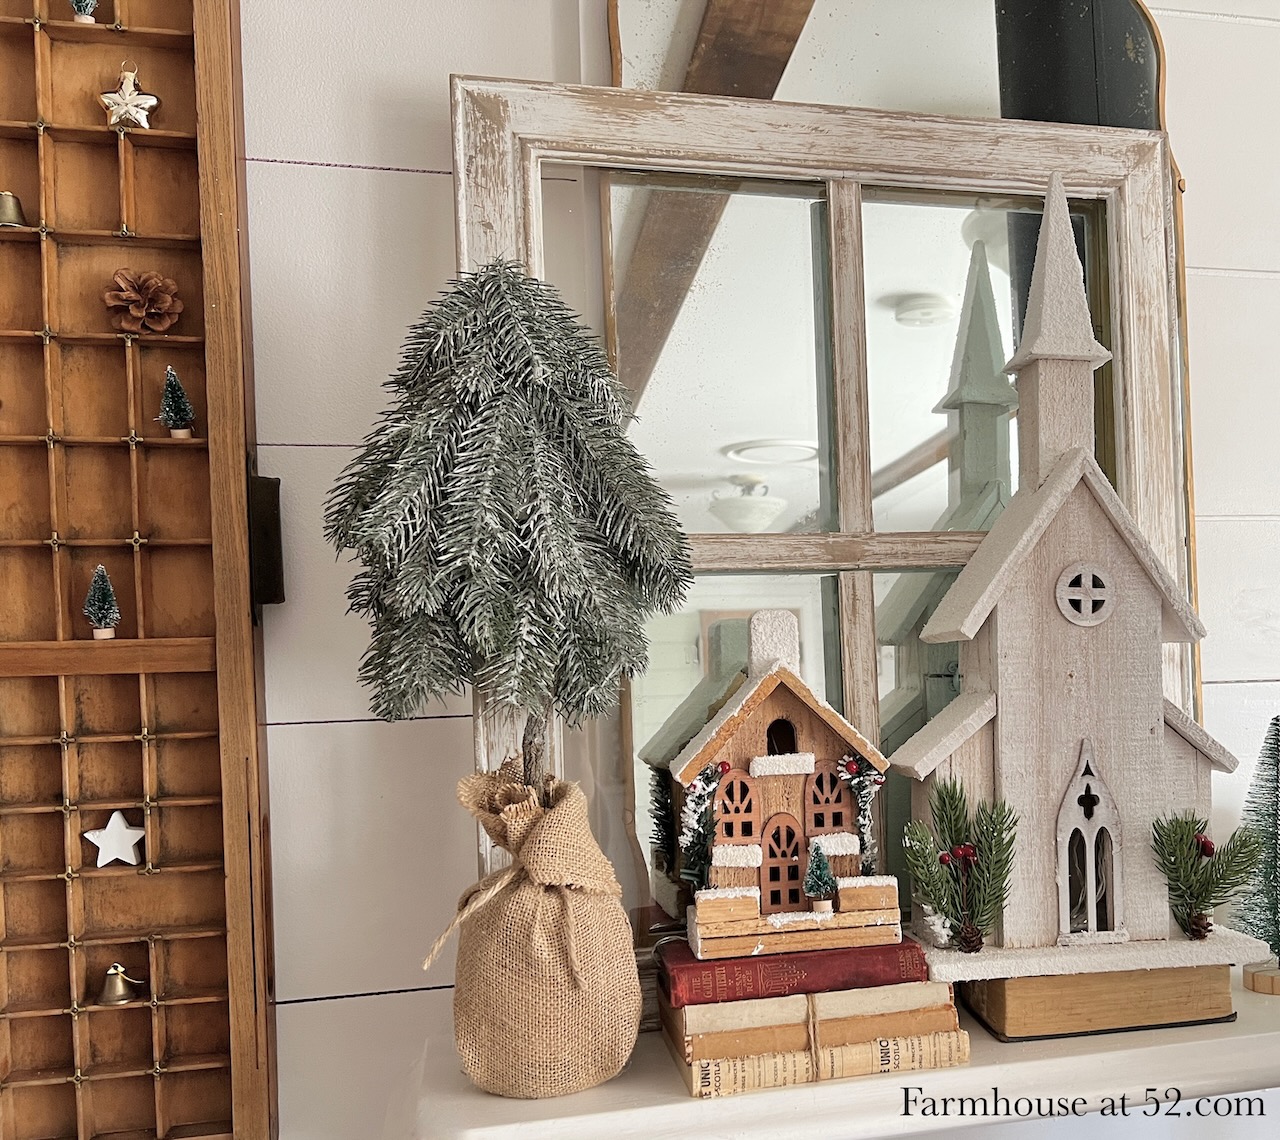
For my trunk I used a stick from the garden and poked it up into the base of my polystyrene cone. I used some hot glue to secure the tree top to my stick.
To hold my trunk, I used an old jar and filled with some florist foam and some newspaper to pack it tightly so it would stand up securely.
To create my burlap base I used an old burlap runner and some twine.
I just cut a piece off my runner to fit and tied it with the twine.
Then I gave the bottom of the branches a little haircut until I was happy with the length.
This is when I decided to add a second coat of snow using my spray adhesive base coat.
But first I had to bag up my base to avoid any over spray.
After I resprayed and it dried I grabbed my hairspray and gave it a quick coat to help the spray snow stick better and shed less. (A lady told me this little tip last year when I said my husband always complains about the glitter bombs in the house when I bring out the Christmas decor.) It worked well. There is still some shedding, but a lot less.






Comments
Post a Comment
Did you enjoy this post? Please leave a comment.