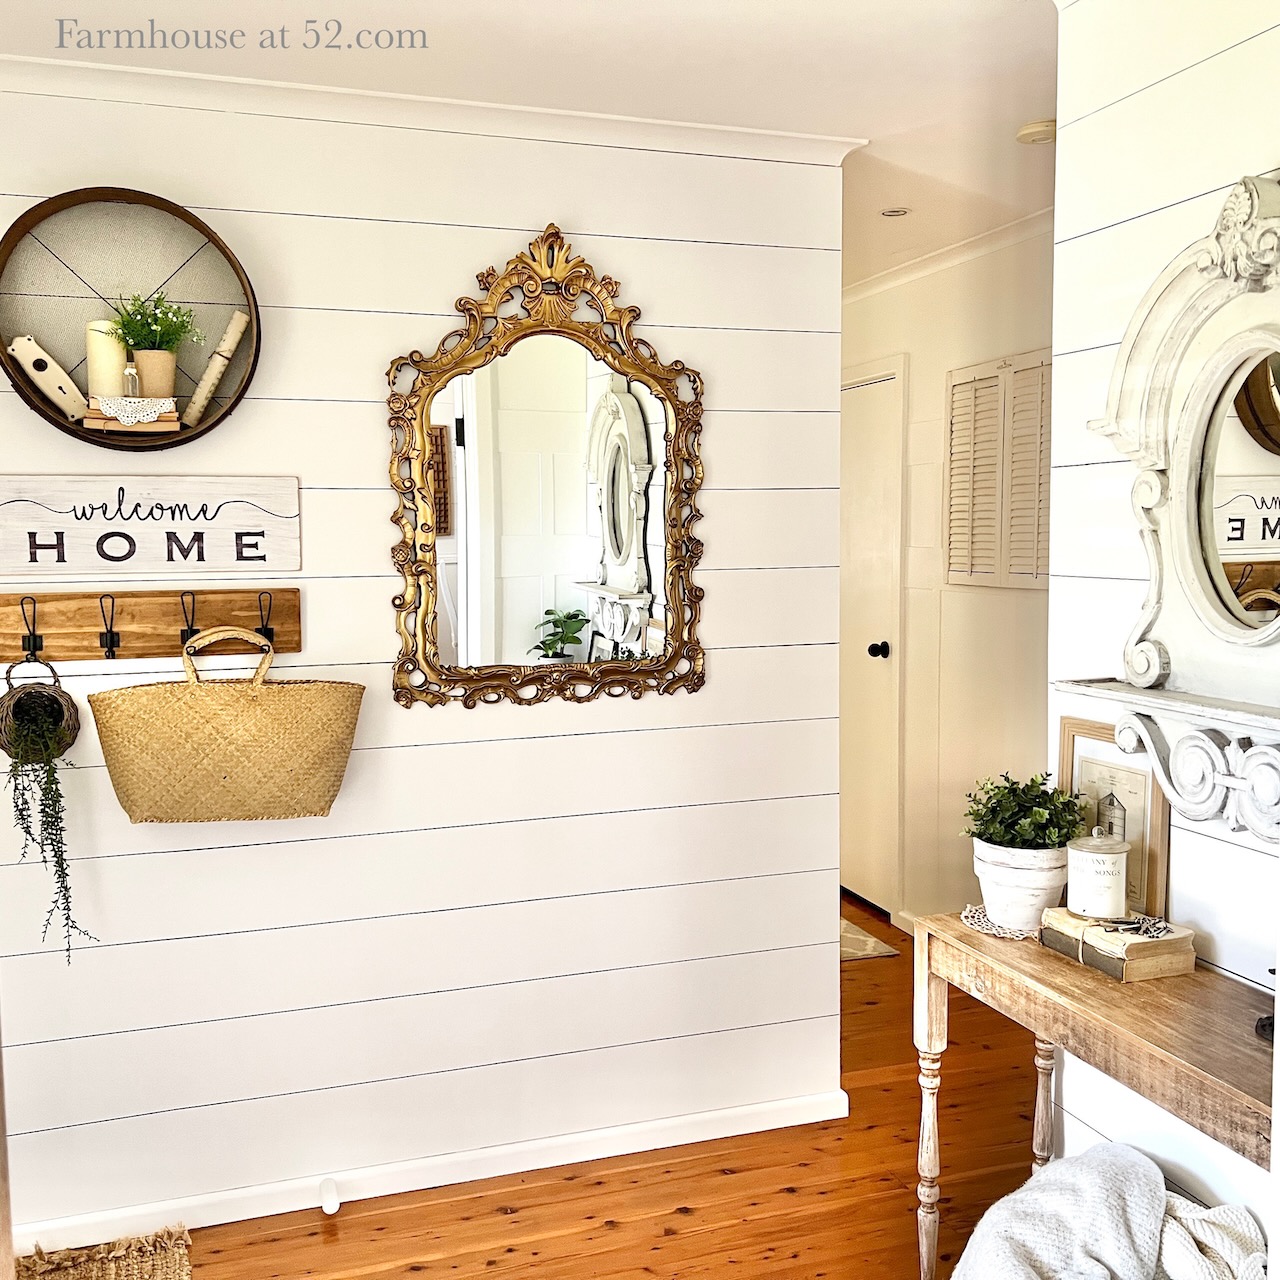
UPDATED ENTRYWAY WALL USING SHARPIE SHIPLAP AND FRENCH DOOR REDO
Hi Friends,
Today I'm sharing my new faux shiplap entryway.
This is how my entryway used to look. I had created DIY board and button using MDF a few years back. But after putting the shiplap in the living room, I wanted to carry in into here as well.
Rather than attempting to remove the board and button, I purchased two large sheets of MDF and covered it up. I had drawn out my lines on a sheet of paper, so I just needed to cut my sheets so one line was where they joined, so it wouldn't be so obvious.
I used my nail gun to attach the sheets so they are easy to remove if I want to in the future.
Next I painted my MDF with British Paints White Wall Paint.
Then I grabbed my sharpie shiplap tools.
The first line was the line where the sheets joined.
Then I marked out the width of my lines and using a ruler.
Then I used my spirit level and sharpie and drew on my faux shiplap lines.
And this is my finished wall! you can't even tell there are two adjoining sheets of MDF on the wall.
Next I made a cute little sign to go on the wall.
Then I took photos and used Pages to place my new gold mirror, coat hooks, welcome sign and vintage sieve roughly where I would like to hang them.
And Pages became reality.
I also carried the MDF sheets and shiplap over to the back of the other wall behind our entry table.
This is the view looking back from the kitchen to the front door.
And my DIY Farmers Market sign above the kitchen door.
And finally the view from the living room back into the entryway.
I love the way the walls turned out. I'm planning on finishing all the walls in the entryway.
This project cost me approximately $100 in MDF, but was worth every cent.


Comments
Post a Comment
Did you enjoy this post? Please leave a comment.