DIY CHICKEN WIRE CLOCHE AND FARMHOUSE STYLE EASTER COFFEE TABLE CENTREPIECE
Happy Monday Friends!
I hope you all had an amazing weekend. We traveled up the Central Coast to see my mum and celebrate my brother's birthday. We also called into a few homewares shops and I may have bought a huge ceramic bunny. 🤔🤣 Don't you just love Easter?
Speaking of which, today is another 2 in 1 post. I'm sharing my first attempt at a DIY chicken wire cloche, and I'm sharing my coffee table Easter centrepiece which incorporates my new cloche.
DIY Chicken Wire Cloche
Supplies:
- Chicken wire - I found the thin wire much easier to cut and to work with.
- Scissors or wire cutters - I was able to get away with using scissors.
- Pointy Nose Pliers - For bending your wire and flattening any sharp edges.
- Gloves - I used gardening gloves. I learned the hard way that chicken wire will spike your fingers and you will bleed. ⚠ Handle with care!
- Drawer knob - Or similar to add to the top of your cloche.
Step 1:
Cut your wire to the height and diameter you require. I actually had some scrap wire left over from another project and I've always wanted to make a wire cloche but haven't had the guts to try.
Step 2:
Wrap your wire into a cylinder and start twisting the ends to meet and secure your cloche. I used my fingers, then went back and used the pliers to flatten the ends to make them look a bit neater.
Don't worry if it doesn't look super neat. Mine certainly isn't!
Step 3:
Fold the top of your cylinder in towards the centre. You want to make sure the ends meet in the middle.
Then begin shaping your wire into a dome/cloche shape on top.
Again, this doesn't have to be perfect. You just need to get a good overall shape.
I used my pointy nose pliers again to pinch the wire together in some places to make it look neater.
This part took me a good half hour to get right and I still occasionally fiddle with the shape in passing. (Maybe a bit of OCD.)
Step 4:
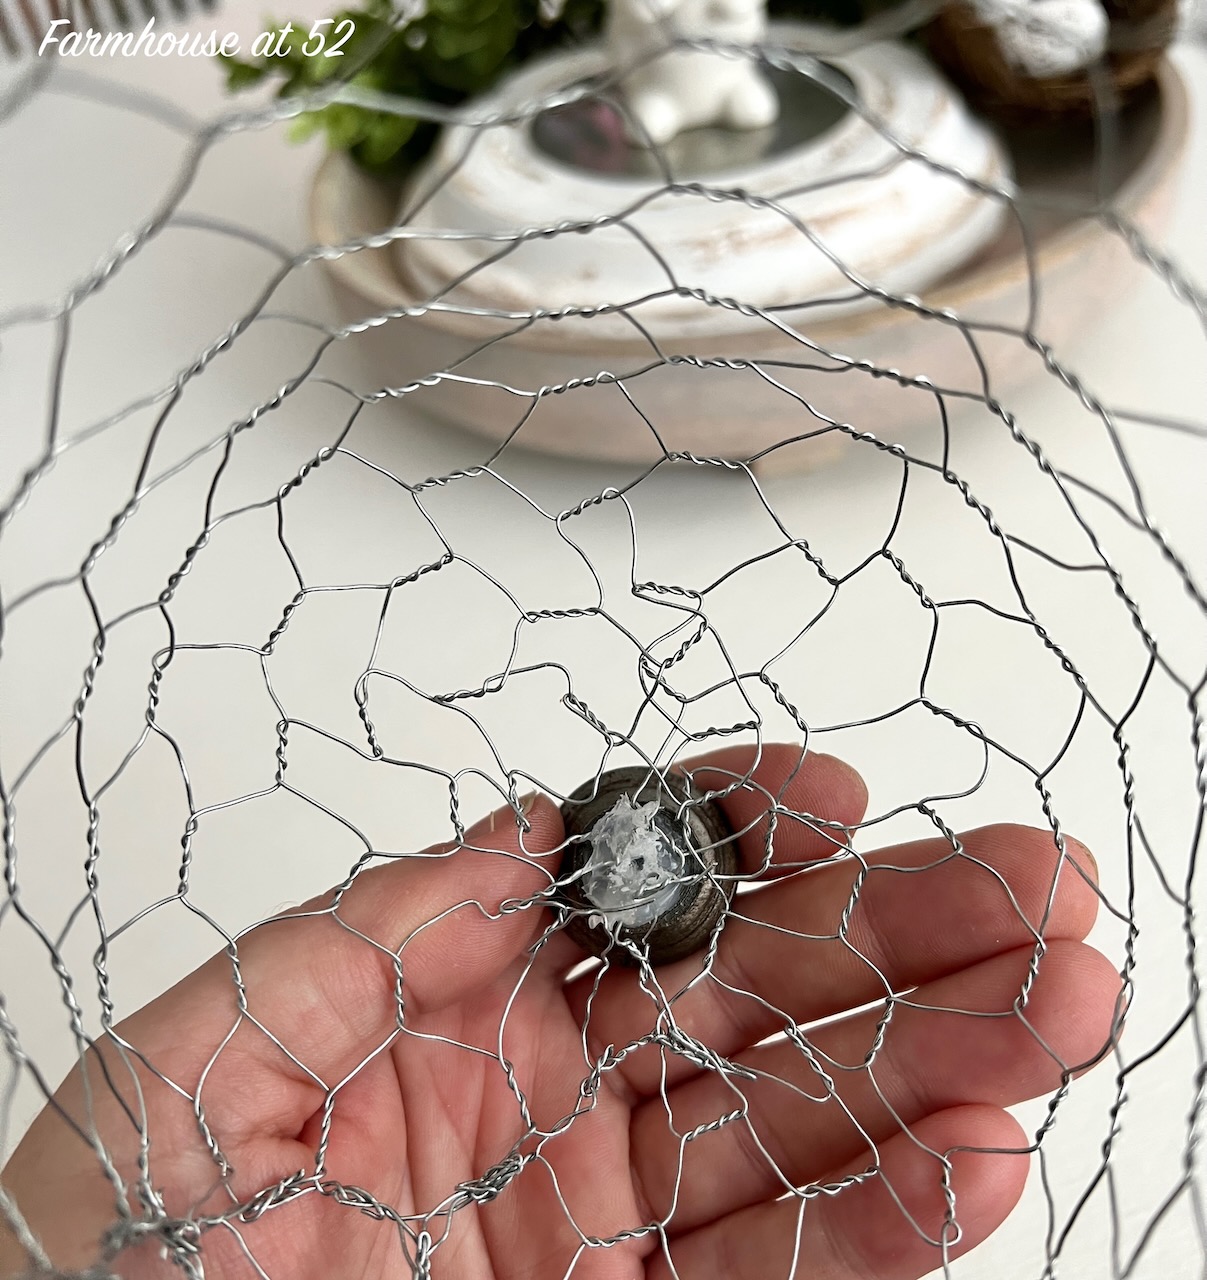
To complete my cloche I found an old drawer knob and hot glued it to the top of my wire to make a little handle.
The glue held well and when the cloche is face down you can't even see the glue.
Finished Cloche
And that is how I made my very simple little cloche which I think turned out super cute.
It was a bit fiddly, but not impossible.
I'd be keen to try making a larger one too!
Easter Coffee Table Centrepiece
While I'm sharing my new chicken wire cloche, I wanted to quickly share my simple Easter coffee table centrepiece.
1. The Base
Step 2.
Step 3 & 4.
Step 5.
Save It For Later
Did you like this post? If so, don't forgot to PIN this post for later! Simply hover over the image blow and click on the Pin It icon in the top left hand corner.
Thank you for reading my post! If you enjoyed it, please let me know!
And for more inspiration, don't forget to sign up for my email alerts. Sign up here!
Take care and stay safe!


Comments
Post a Comment
Did you enjoy this post? Please leave a comment.